

Content Menu
● Understanding Trim-to-Fit Insoles
● Step-by-Step Process: How to Trim SOLE Insoles
>> Step 1: Remove the Existing Insole
>> Step 4: Start Trimming Gradually
● Advanced Custom Fitting Tips
● Troubleshooting Common Fit Issues
>> There's still pressure on the toes
● Additional Tips for Special Insoles
● When to Replace Your Trimmed Insoles
● Proper Disposal of Old Insoles
● FAQs
>> 1. How can I determine where to trim first?
>> 2. Can trimming change support performance?
>> 3. What type of scissors works best for trimming?
>> 4. Can I use one pair of trimmed insoles for multiple shoes?
>> 5. My insole layer is peeling after trimming—what should I do?
Do your new sole insoles feel a little too long or not shaped perfectly for your shoes? Trimming them is the best way to achieve a comfortable, snug fit and ensure your feet enjoy maximum support. Many sole insoles come in “trim-to-fit” designs, allowing easy customization with just a few simple tools. This detailed guide explains exactly how to trim, test, and care for your insoles, helping you walk more comfortably from day one.

SOLE insoles are designed with a slightly oversized shape to accommodate various shoe dimensions. Since every shoe size can vary slightly in length and width between brands, trimming lets you fine-tune the fit for your unique footwear. A properly trimmed insole lies completely flat without shifting, reduces discomfort during movement, and extends the lifespan of both the insole and shoe.
When insoles are too long:
- They may curl upward inside the shoe
- Create uncomfortable foot pressure
- Cause uneven wear or movement
When trimmed correctly:
- The arch aligns perfectly under your foot
- Toes have just the right space
- The heel stays secure, avoiding slippage
Before trimming, gather these essentials:
- A pair of sharp scissors (preferably heavy-duty)
- A pen or fine-tip marker
- Your shoes
- The original insole (if removable)
- Optional: a ruler for precise marking
These common household tools will help ensure smooth, accurate cuts and reduce material wastage.
Take the insole out of your shoe. This will serve as a perfect reference. If the insole is glued or non-removable, skip this step and later measure directly in the shoe.
Place your new SOLE insole beneath the original one, lining up the curves of the heel and the inner edge. This ensures that the arch support stays in the correct position.
Use your marker to trace around the toe and forefoot area of the original insole. Keep your lines clear but slightly outside the edge to allow for conservative trimming.
Cut slowly along the traced line. Avoid cutting deeply or inside the line. It's always safer to undercut first — you can make additional trims later.
Insert the trimmed insole into your shoe. It should lie flat without curling, shifting, or folding. Try walking a few steps to ensure comfort.
If you notice tightness at the toe box, remove the insole and trim a little more at the front edge only. Never cut near the heel or arch, as these areas are responsible for structural support.

1. Focus on the toe section: Most shoes taper toward the front, so trimming should aim to adjust toe space.
2. Stay symmetrical: Trim both insoles evenly to maintain balanced posture and alignment.
3. Mark before cutting: A well-traced outline prevents uneven shapes.
4. Use light pressure while cutting: Gentle, controlled motions give a cleaner edge.
5. Recheck after walking: The best fit can only be confirmed after a few minutes of use.
Even though trimming sounds easy, some common errors can compromise your results:
- Cutting too much at once can create excess space, leading to slipping.
- Ignoring heel alignment can reduce arch support.
- Using dull scissors can fray or tear foam edges.
- Forgetting to check both shoes can result in mismatched fits.
If unsure, always trim less — you can't repair lost length.
Once your SOLE insoles fit perfectly, good maintenance will help preserve their comfort and lifespan.
Cleaning:
Use warm water with mild soap, wiping gently using a cloth. Avoid immersing insoles fully in water, as excessive soaking may weaken adhesive layers.
Drying:
Let them air-dry naturally away from direct sunlight or high heat sources, which can cause deformation.
Storage:
Keep trimmed insoles inside your shoes when not in use to maintain their form.
Replacement:
Depending on activity levels, insoles typically last six months to one year. Watch for flattening, cracks, or worn-out cushioning as signs for replacement.
Some SOLE insoles are heat-moldable, allowing you to craft a more custom contour to your foot. Once trimmed, you can gently heat the insoles in an oven (per manufacturer's guidance) for better personal comfort. When doing this:
1. Preheat to the recommended temperature (usually around 90–100°C).
2. Heat for the suggested time.
3. Insert them immediately and stand naturally for several minutes.
This process conforms the insole's arch and heel cup to your unique shape, delivering customized support.
Ensure the insole matches your shoe size closely and lies flat. If it still moves, a small amount of sneaker adhesive on the bottom can help secure it.
This often means you misaligned the heel during trimming. Realign carefully and, if possible, re-trim the forefoot area for a better shape.
Your insole may still be fractionally too long. Remove and trim 2–3 millimeters from the front edge.
Insoles play an essential role in distributing foot pressure evenly and improving walking comfort. A poorly trimmed insole disrupts this balance, leading to fatigue and joint stress. Proper trimming ensures that:
- The shoe fits naturally without added pressure.
- The heel remains cupped.
- The arch provides consistent support during long wear.
- The toe box allows adequate flexibility and airflow.
For athletes, workers, or those spending long hours on their feet, this can prevent soreness and maintain body symmetry.
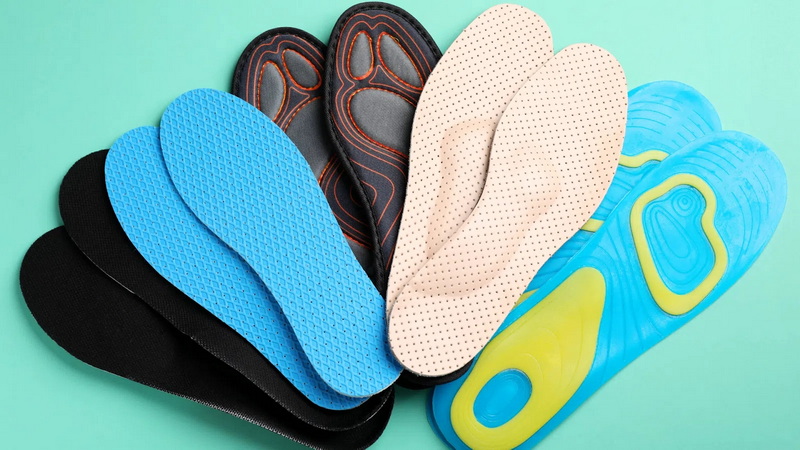
Gel or Air-Cushioned Insoles:
Trim gently. These materials can burst or leak if overcut. Always use short, precise cuts.
Leather Insoles:
Use a craft knife instead of scissors for cleaner edges. Vinyl or leather sheets resist standard scissors.
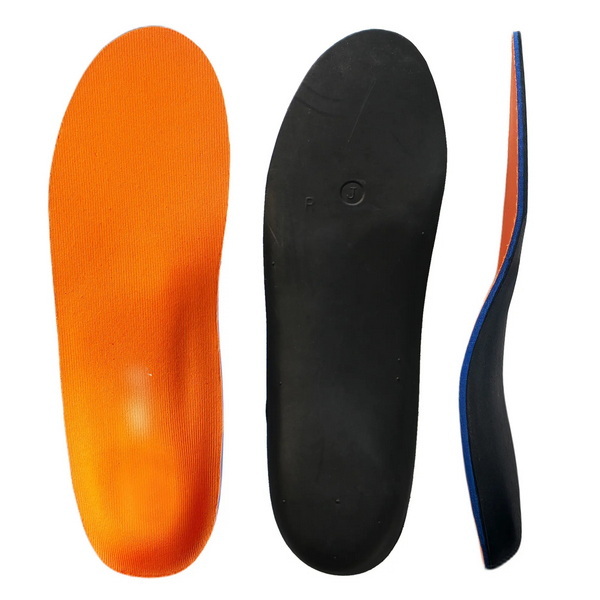
Orthotic Inserts:
Never trim near the arch platform unless directed by a professional; this area provides corrective stability.
Even perfect trimming doesn't make insoles last forever. Replace them when you notice:
- Creasing or separation of top layers
- Faded support zones under the heel or ball of foot
- A persistent odor that cleaning no longer removes
- Loss of shape causing sliding inside the shoe
New, fresh insoles improve comfort and also keep your shoes in better condition.
Used foam or gel insoles can often be cut up and repurposed for padding in toolboxes or garden shoes. Always check whether your local facility accepts foam recycling; if not, reuse is a practical alternative.
Trimming your SOLE insoles is not just a simple DIY adjustment—it's the key to personalized comfort. With the correct preparation, accurate tracing, and patient cutting, you can transform a generic insole into one that fits perfectly with your shoe and foot shape. Remember to trim gradually, test frequently, and maintain proper care after fitting. A well-fitted insole enhances your daily comfort, posture, and performance, making every step stable and enjoyable.

Always begin with the toe section while keeping the heel aligned. This ensures the structural integrity and proper arch position of your insole.
No, trimming only modifies the length and shape. The core support features like the arch and heel cup remain intact if cut properly.
Heavy-duty craft or kitchen scissors work best since they produce clean cuts and handle layered materials better than lightweight ones.
It's technically possible, but having dedicated insoles per shoe guarantees a flawless fit and reduces cross-contamination of moisture or bacteria.
If layers start separating, apply a thin layer of non-toxic contact adhesive, press together evenly, and let dry overnight before reuse.