Views: 222 Author: Edvo Publish Time: 2025-10-21 Origin: Site


Content Menu
● Understanding Dr. Scholl's Orthotic Inserts
>> 4. Athletic & Energy Boost Insoles
● Step-by-Step Installation Guide
>> Step 1: Choose the Correct Orthotic
>> Step 3: Trim to Fit (If Needed)
● Detailed Installation for Specific Shoe Types
>> For Sneakers or Running Shoes
>> For Casual or Slip-On Shoes
● Extra Tips for Optimal Comfort
● Benefits of Using Dr. Scholl's Orthotics
● Troubleshooting Common Problems
● FAQ
>> 1. How often should I replace Dr. Scholl's orthotic inserts?
>> 2. Can these inserts fit all shoe types?
>> 3. Can I use Dr. Scholl's inserts over existing insoles?
>> 4. Are Dr. Scholl's Orthotics suitable for plantar fasciitis?
>> 5. How do I clean my insoles?
Installing Dr. Scholl's Orthotic Inserts properly can transform your footwear into a foundation of comfort, balance, and pain relief. Whether you are an athlete, a professional who stands all day, or someone with chronic foot discomfort, learning how to install and wear your orthotics correctly ensures long-term benefits. This guide provides a comprehensive walkthrough for fitting Dr. Scholl's inserts, understanding insert types, and maintaining comfort and performance over time. You'll also learn advanced care tips for different shoe types and foot conditions, making your orthotics work perfectly for you.

Dr. Scholl's offers several types of inserts tailored to different foot shapes, lifestyle needs, and pain points. Knowing which one suits your requirements is essential for proper installation.
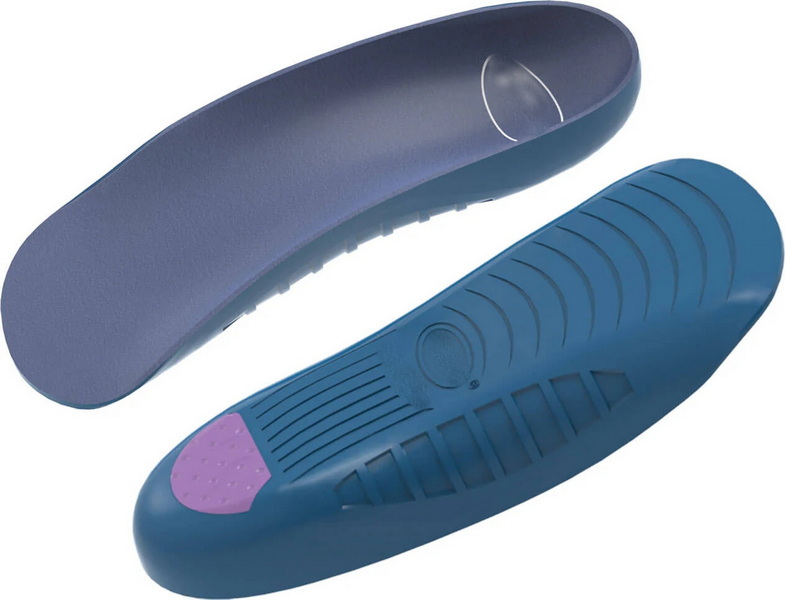
These inserts are available in both full-length and 3/4-length styles. They are pre-shaped based on foot profiles identified through the Dr. Scholl's kiosk or app system, ensuring each option matches specific arch and pressure patterns. They don't require trimming, so installation is simpler and more precise.
Ideal for workers who spend long hours on hard or uneven surfaces, these insoles feature tough cushioning, reinforced heels, and shock-diffusing gel layers. They can be purchased as trim-to-fit models, allowing personalized adjustment to shoe size.
These inserts are designed to target common foot ailments like plantar fasciitis, ball-of-foot pain, and heel spurs. The pain relief series includes specialized options such as “Heel Pain Relief,” “Lower Back Pain Support,” and “Heavy Duty Support” for men weighing over 200 pounds.
These orthotics cater to runners and active individuals. Built with energy-return foam, they deliver efficient shock absorption and push-off stability, reducing fatigue during workouts.
Check the product packaging for characteristics such as “Trim-to-Fit,” “3/4 Length,” or “Full Length.” The right type will determine how you prepare your footwear.
Remove any existing insole if using a full-length insert. For 3/4-length orthotics, leave the original insole in place to maintain optimal heel cushioning. Clean out debris, dust, or moisture to ensure a smooth base.
Some Dr. Scholl's insoles can be trimmed. Place the insole on top of your shoe's original insert and trace around the toe area as a guide. Use sharp scissors to follow the outline carefully, trimming small amounts at a time to avoid overcutting.
Insert the orthotic into the shoe with the cushioned side facing upward and the gel or support base down.
- For 3/4-length models, align the heel cup snugly at the shoe's back.
- For full-length inserts, slide them in so that the toe end rests flat without curling.
Ensure the insole lies evenly, covering the base of the shoe without wrinkles or lifts.
After insertion, put your foot inside the shoe and press your heel firmly into the heel cup. Walk around briefly. There should be no tightness, slippage, or edge folding. The fit should feel stable but not restrictive.
If discomfort occurs, re-adjust the insert's position or verify trimming accuracy until it feels balanced.
New orthotics often need a short adjustment phase. Wear them for 1–2 hours on the first day, gradually increasing daily wear time over a week. Your feet and muscles need time to adapt to the improved support and posture alignment.
Running shoes have deeper cavities and flexible soles, making them perfect for orthotic inserts. Remove the original insole, replace it with your Dr. Scholl's insert, and ensure it lies flat. Runners may prefer energy or sport-specific insoles for better shock absorption.
Work boots often come with removable insoles. Swap them for heavy-duty orthotics if you experience heel or back strain. Trim carefully to the correct size before fitting.
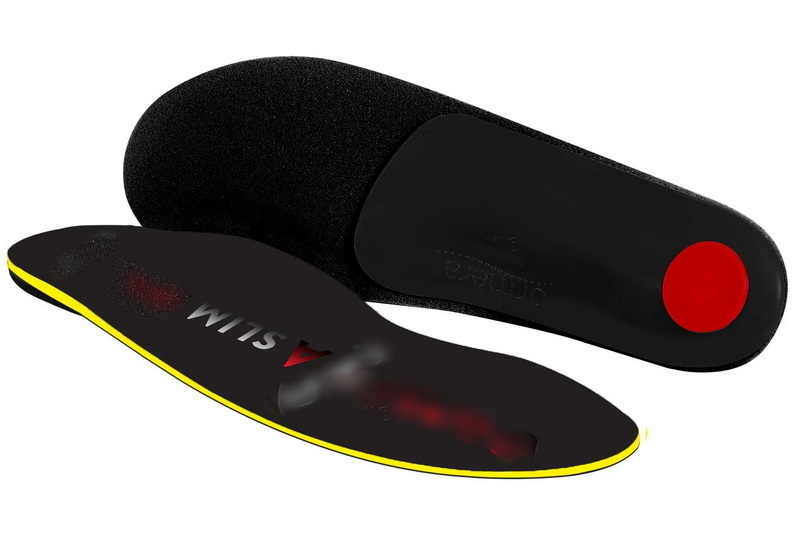
Slim-fit inserts or 3/4 orthotics work best for dress shoes. They maintain a clean appearance while offering arch and heel lift without taking extra space.
These shoes often require thinner, low-profile orthotics to avoid tightness. Always ensure the insert remains secure during motion by pressing it fully into the heel section.
- Replace orthotics every 6–12 months or after visible wear.
- Keep feet dry and clean to reduce friction.
- Avoid folding or bending orthotics during insertion.
- Use shoe trees or air-dry footwear after long use to maintain fit.
- Rotate between pairs to prolong product life and freshness.
Installing your orthotics properly ensures multiple long-term benefits:
- Enhanced arch and heel support reduces pressure on joints.
- Decreased strain on knees, hips, and lower back.
- Better posture and walking balance.
- Reduced fatigue during daily standing or walking.
- Relief from common pain conditions like plantar fasciitis or flat feet.
When used correctly, these inserts provide continuous comfort that aligns the body and cushions every step.

If the orthotic slides while walking, check whether the shoe interior is smooth or dusty. Clean it, or use double-sided insole tape for extra grip, especially in athletic shoes.
Trim the front gradually and avoid cutting near the arch section.
Ensure you're using the correct insole type for your foot issue. For flat feet or high arches, Custom Fit® orthotics provide superior balance compared to standard gel insoles.
- Cleaning: Use a damp cloth and mild soap. Do not submerge or expose to heat.
- Storage: Keep in a dry, well-ventilated space. Avoid direct sunlight.
- Replacement Indicators: Flattened cushioning, cracks, or odor indicate it's time for a new pair.
| Type | Best For | Trim Required | Primary Benefit |
|---|---|---|---|
| Custom Fit® Orthotics | Everyday support and posture | No | Custom comfort |
| Work Insoles | Long-hour workers | Yes | Shock absorption |
| Pain Relief Orthotics | Targeted pain issues | No | Specialized relief |
| Athletic Insoles | Running or workouts | Optional | Energy return |
| 3/4-Length Inserts | Dress shoes | No | Compact arch support |
To get full advantage of your orthotics, combine them with good daily habits:
- Stretch your calves and arches regularly.
- Replace worn-out shoes that compromise support.
- Wear moisture-wicking socks to prevent discomfort.
- Maintain proper posture during standing and walking.
When cared for properly, high-quality orthotics can significantly reduce chronic pain and enhance mobility throughout your life.
Properly installing Dr. Scholl's Orthotic Inserts transforms regular footwear into a customized comfort system that supports your feet, legs, and entire body. From selecting the correct insole type to trimming, aligning, and adjusting for comfort, each step contributes to lasting performance and health benefits. Whether you choose Custom Fit®, Work, or Pain Relief inserts, following this detailed installation process guarantees optimal alignment, pain reduction, and improved posture for everyday comfort.

Replace them every six to twelve months depending on usage frequency, visible wear, or loss of cushioning.
Yes, but larger or narrower shoes may require trimming. 3/4-length models are ideal for tight-fitting shoes.
This depends on insert length. Full-length inserts replace existing insoles, but 3/4-length ones can be layered above.
Yes, many pain relief models are designed specifically for plantar fascia support, reducing heel tension and inflammation.
Wipe with mild soap and water using a soft cloth. Let them air dry completely before reinserting them.